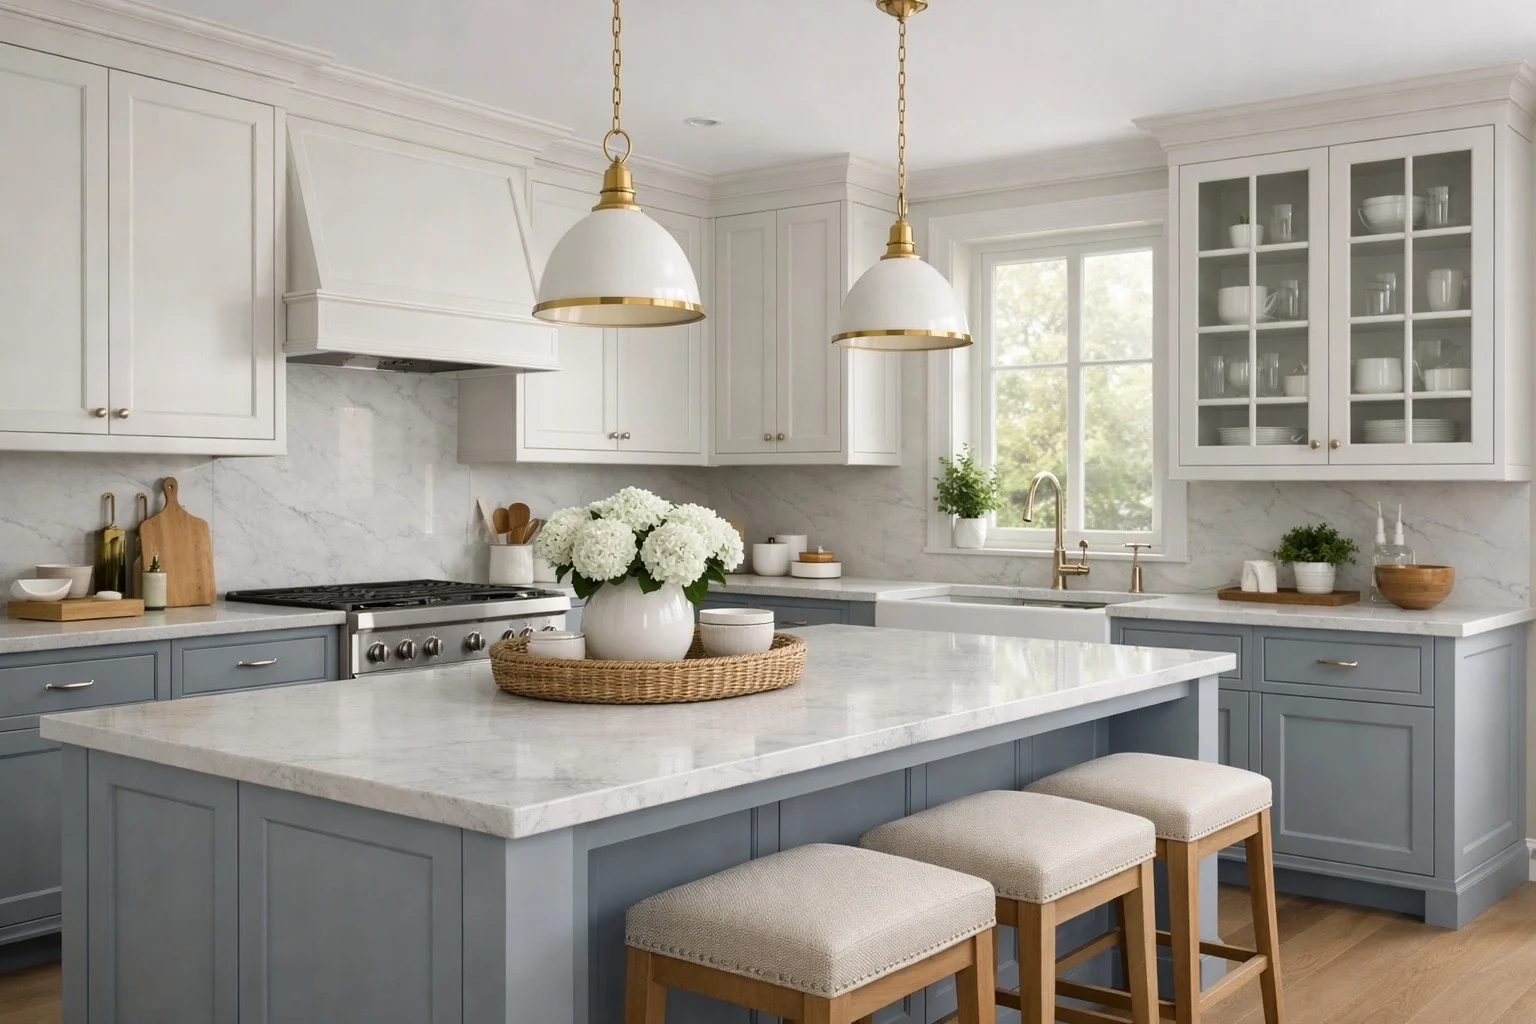
Painted Finishes
Smooth, controlled, and highly versatile. Painted cabinetry is strongest when color, sheen, and construction details are selected as one complete composition.
Explore this page →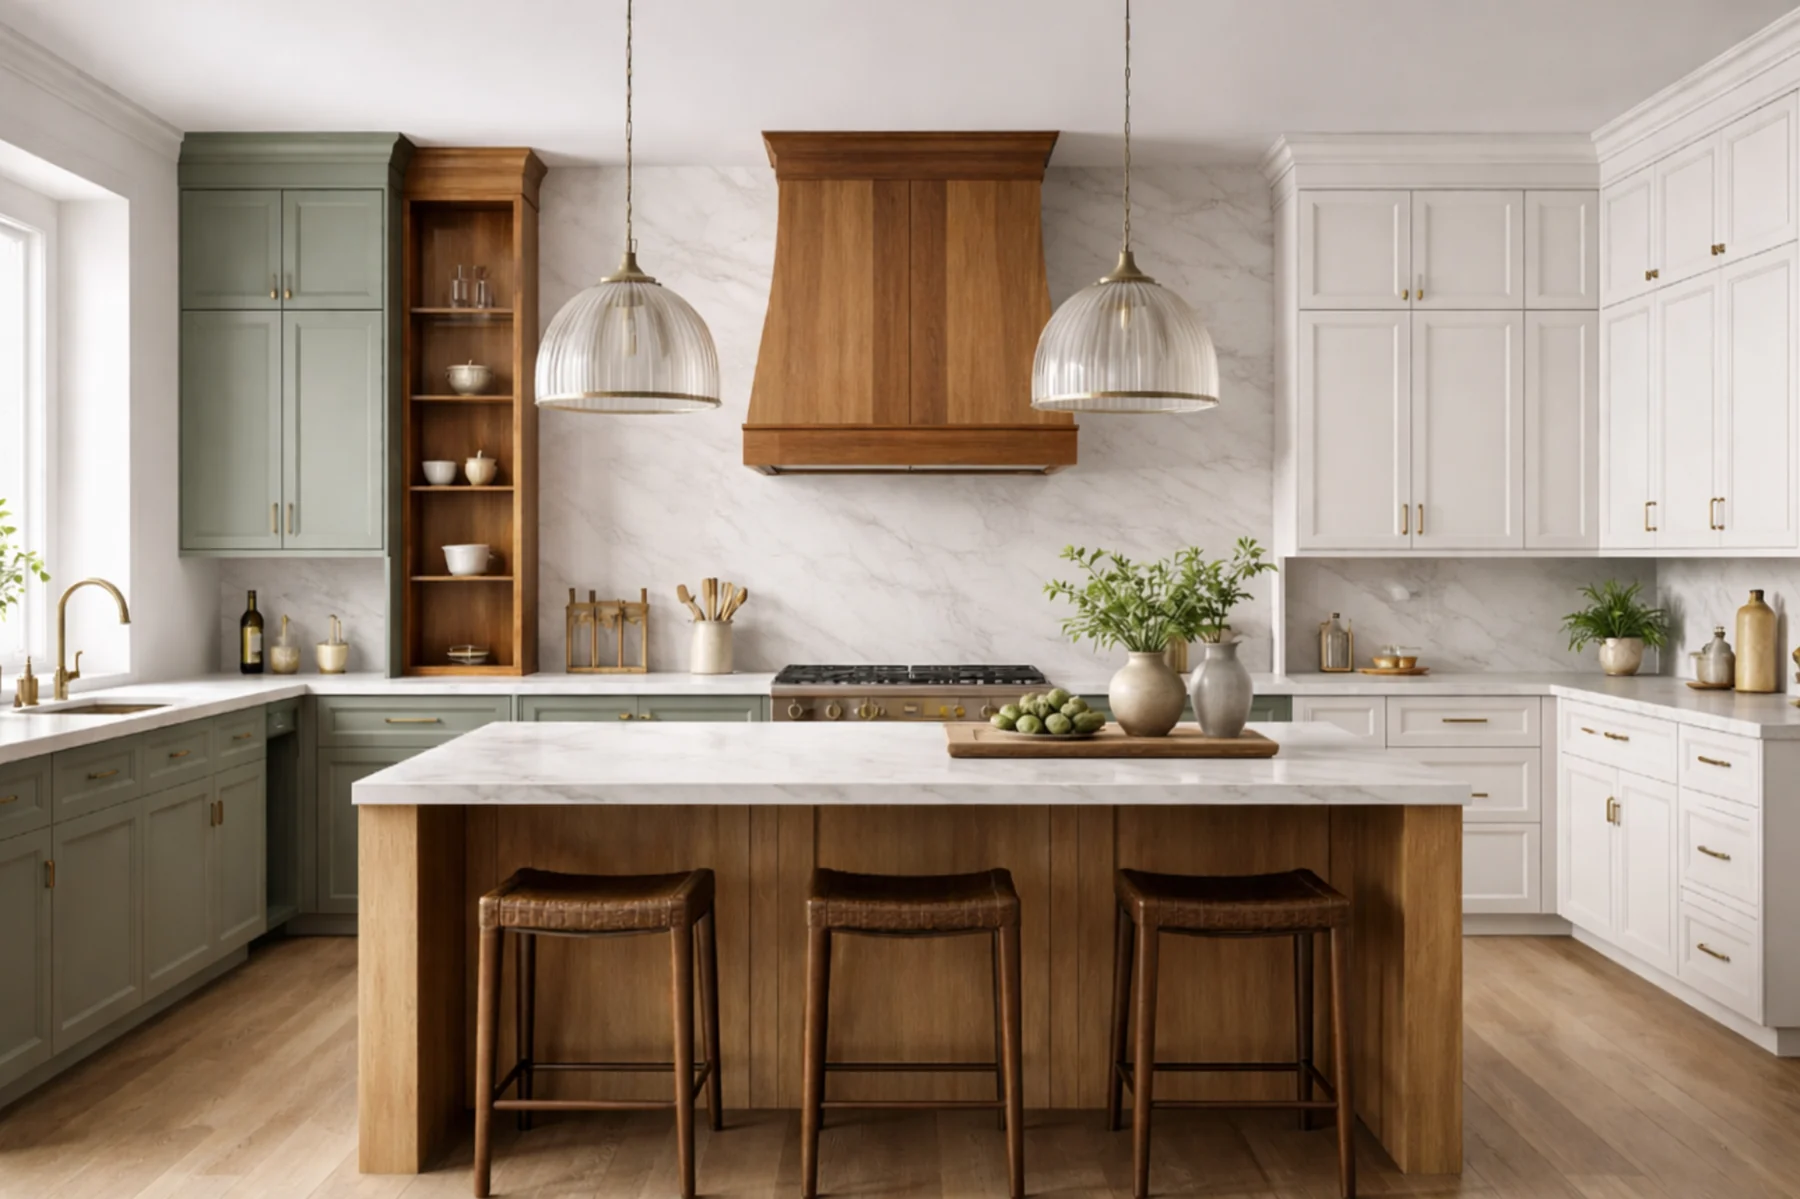
Painted, stained, and specialty finishes all change how cabinetry takes light, how much texture the room carries, how forgiving daily use feels, and whether the final result reads calm, tailored, warm, modern, historic, or highly custom.
Most clients begin with inspiration images and color names. That is a useful starting point, but the finished room is shaped by a deeper set of decisions: what the finish is applied to, how the coating is built, how much grain or profile remains visible, how the sheen reflects light, and how the finish will age in a real home.
Color sets the mood, but it must be judged in the actual room with flooring, counters, backsplash, wall color, hardware, and natural light. A good cabinet color in isolation can still be wrong in context.
Paint-grade wood, MDF, maple, oak, walnut, alder, veneer, laminate, and textured panels all behave differently. The surface below the finish changes appearance, movement, touch-up, and cost.
Matte, satin, semi-gloss, and specialty sheens change how formal the cabinetry feels and how much light bounce, reflection, dust, fingerprinting, and surface texture the eye notices.
Busy family kitchens, vanities, mudrooms, bars, laundry rooms, and display cabinetry do not ask the finish to perform the same job. Durability and cleanability matter more in high-touch zones.
Painted, stained, and specialty finishes each solve a different design problem. The best finish is the one that supports the architecture, the cabinet construction style, the material palette, and the client’s daily-use expectations.
Smooth, controlled, and highly versatile. Painted cabinetry is strongest when color, sheen, and construction details are selected as one complete composition.
Explore this page →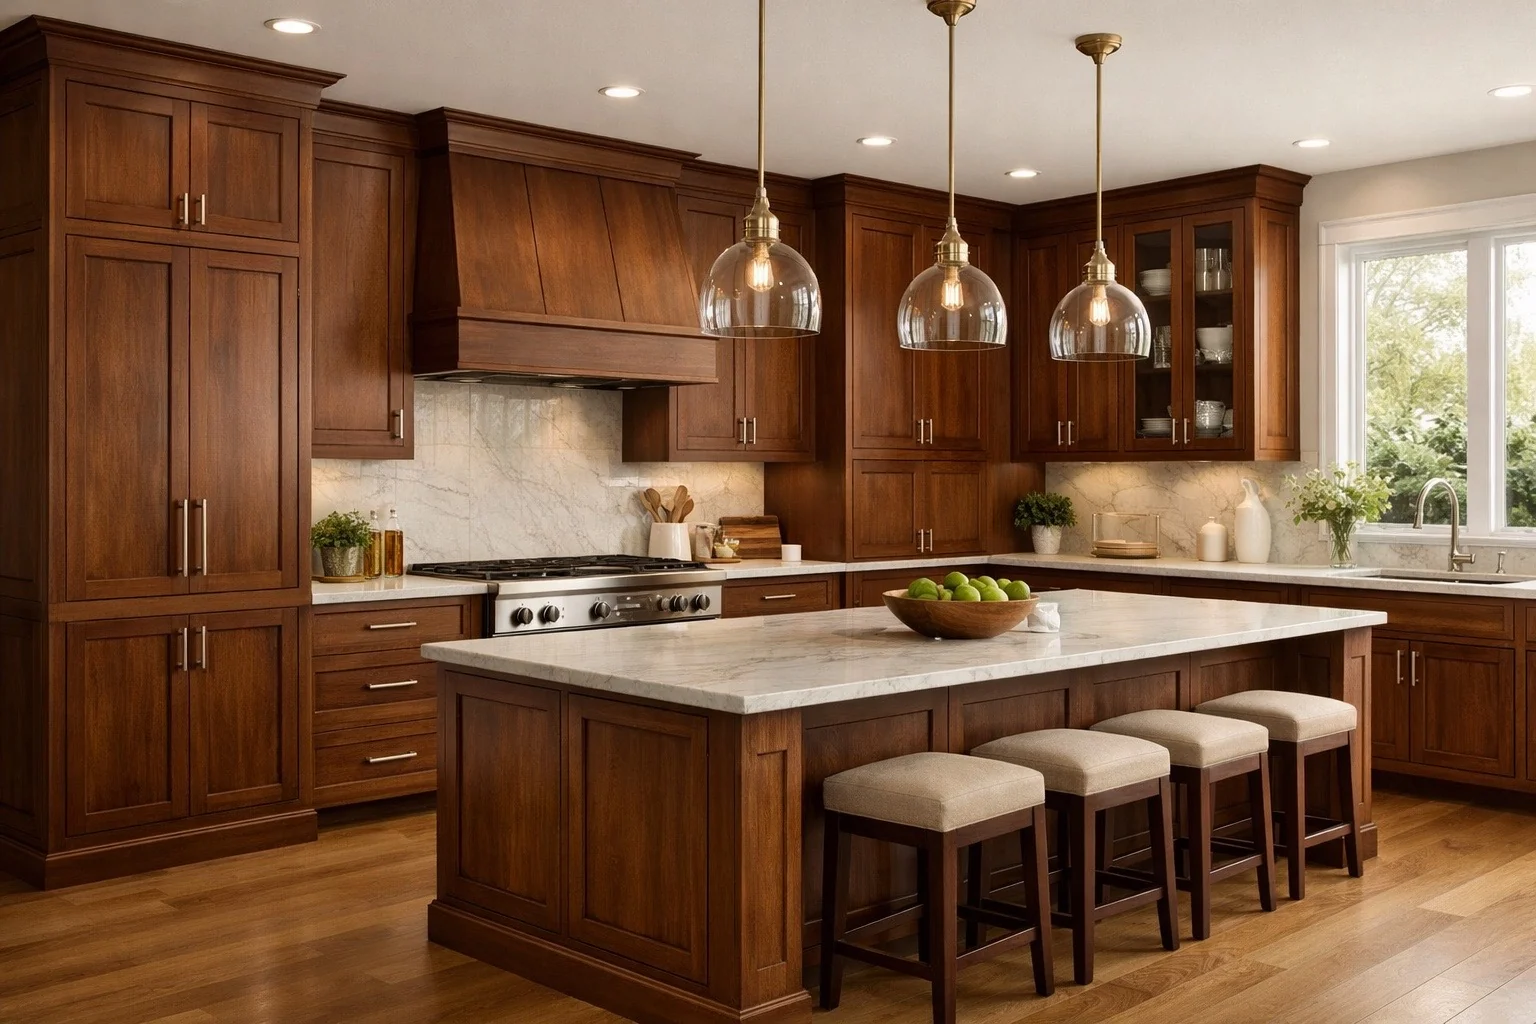
Warm, tactile, and material-led. Stain allows the wood species and grain pattern to become a visible part of the room’s design language.
Explore this page →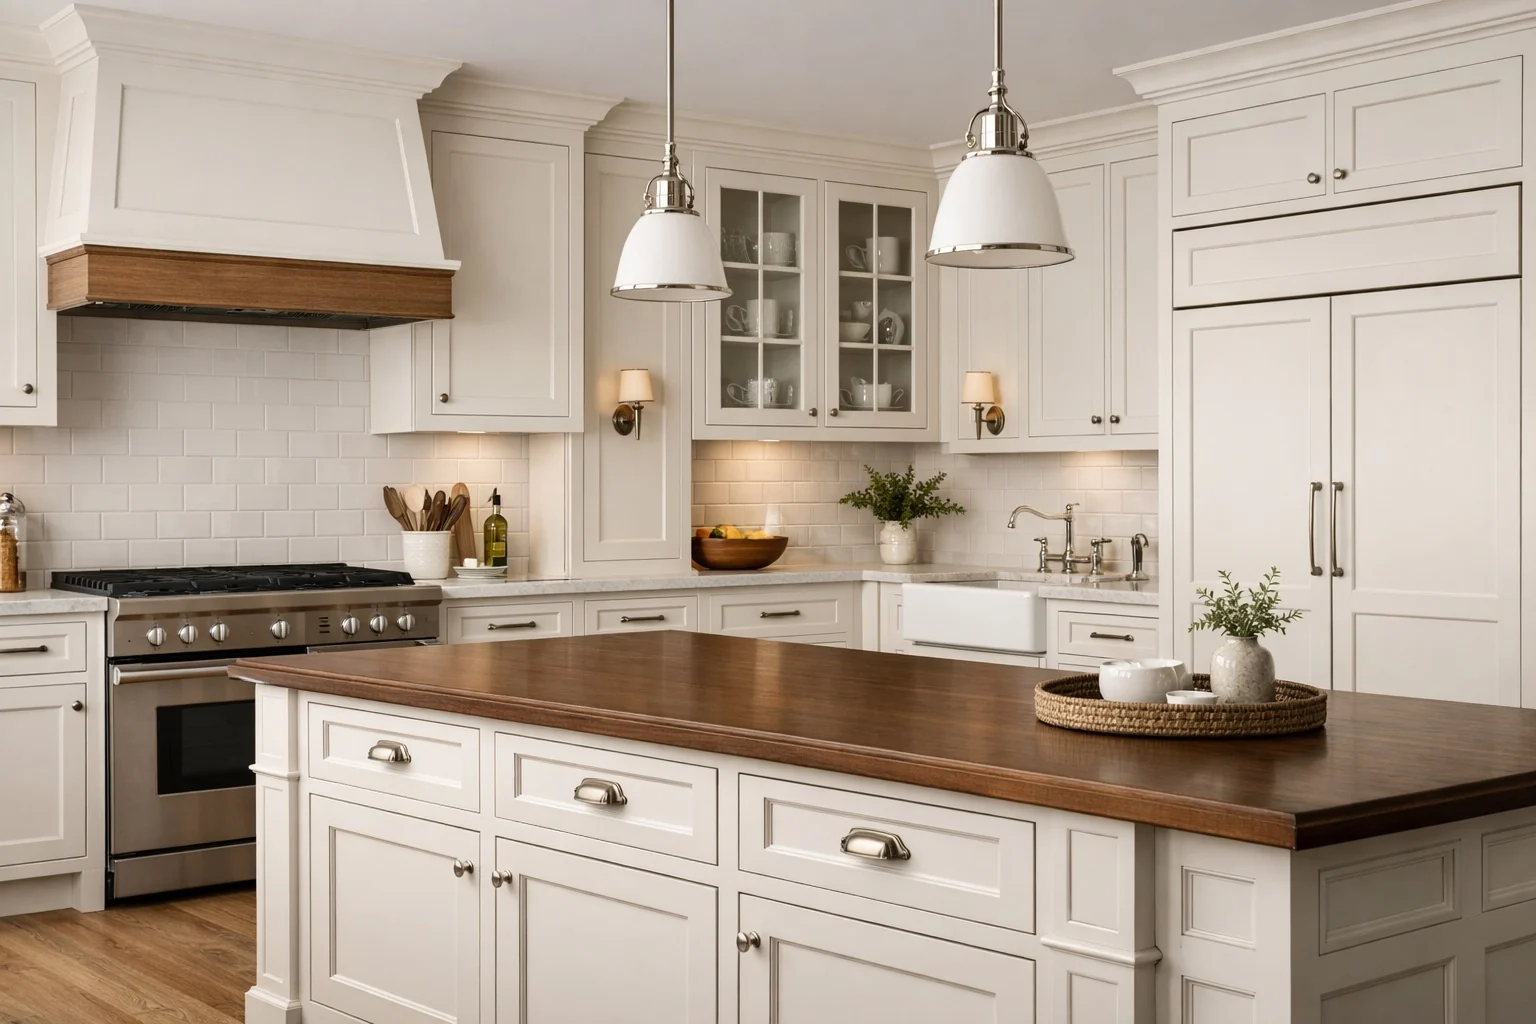
Textured, glazed, distressed, brushed, veneer, laminate, leather, and other custom finish moves that add identity when used with discipline.
Explore this page →There is no universally best finish. A painted finish can look timeless or flat. A stained finish can look rich or dated. A specialty finish can look custom or overdone. Context decides.
Best for: clients who want color control, clean cabinetry lines, lighter palettes, or a softer transitional look. Watch for: chips, corner wear, undertones, visible seams on five-piece doors, and colors that fight the room’s light.
Best for: clients who want grain, warmth, and material authenticity. Watch for: natural variation, orange or yellow undertones, species-specific absorption, and samples that cannot represent every board in the project.
Best for: feature zones, islands, bars, hutches, vanities, range hoods, or rooms needing a stronger signature. Watch for: trend risk, added cost, cleaning complexity, and too many competing finish ideas.
A simple painted finish or calm low-contrast stain usually creates the quietest backdrop. This can be ideal when the countertop, backsplash, lighting, or architecture already carries detail.
A stain on a thoughtfully selected species lets the wood become part of the design rather than a hidden construction material. Rift white oak, walnut, cherry, alder, maple, and hickory each communicate differently.
Glazes, brushing, heirloom treatments, distressing, wire-brushing, exotic veneers, and textured panels can create a highly custom room, but they are most successful when they are edited and intentional.
A quality cabinet finish typically involves surface preparation, stain or pigmented color when applicable, sealing, sanding, and a protective topcoat. Some manufacturers use catalyzed conversion varnish or other catalyzed systems because the cured film is engineered to resist normal household moisture, staining, and chemical exposure better than a simple decorative coating.
That does not make any cabinet finish indestructible. Heat, standing water, abrasive pads, harsh cleaners, steam exposure, pet damage, and hard impact can still compromise the surface. A durable finish reduces normal-use risk; it does not remove the need for care.
A finish can be expensive and still be wrong if it fights the room. It can be simple and still be excellent if it supports the architecture and the rest of the palette. Value is not measured only by how special the sample looks; it is measured by how well the finish performs visually and practically in the full project.
The safest path is not always the plainest path. The strongest path is the one with a clear reason: painted for control, stain for material warmth, specialty for edited identity.
Cabinet finishes shift dramatically when placed beside flooring, stone, tile, hardware, wall paint, window light, and artificial lighting. The goal is to reduce surprises before the finish becomes an orderable specification.
Whites can turn blue, yellow, gray, or pink depending on light and adjacent materials. Stains can turn orange, red, green, or muddy if the wood species and palette are not considered together.
A small chip can feel calm while a full wall of cabinetry feels much stronger. Dark finishes, saturated colors, heavy glazes, and expressive grain all become more powerful at cabinet scale.
Lower sheen can feel softer and more furniture-like. Higher sheen can feel brighter and more polished, but it may also reveal surface texture, fingerprints, glare, and inconsistencies more readily.
A finish should be reviewed against the actual countertop direction. Warm veining, cool veining, heavy movement, quiet stone, and strong island contrast all affect finish selection.
Wood floors and stained cabinets need enough contrast or enough intentional coordination. Similar-but-not-matching wood tones can make a room feel slightly off.
Brass, nickel, black, bronze, and chrome can all pull different notes from the same finish. Hardware should confirm the finish, not fight it.
Routine cabinet care should be simple: wipe spills promptly, clean with a soft damp cloth and mild soap when needed, dry the surface, and avoid abrasive scrubbers. Areas around sinks, dishwashers, ranges, trash pullouts, coffee stations, and bath vanities deserve more attention because moisture, oils, steam, cosmetics, and cleaners are more concentrated there.
The long-term goal is to protect the finish film. Once a finish is chipped, cut, swollen, or chemically etched, repair may be visible. Touch-up can improve a damaged area, but it is rarely the same as a flawless factory finish.
A finish should not be selected in isolation. The strongest palettes are built by narrowing the finish family first, then testing color, sheen, species, texture, and hardware against the rest of the project.
Decide whether the cabinetry should feel quiet, warm, traditional, modern, coastal, furniture-grade, bold, or highly custom.
Paint for control, stain for material character, specialty for a deliberate signature. Do not jump to color before this choice is clear.
Inset, full overlay, and frameless cabinetry carry finish differently. Reveals, profiles, and edge lines all change the way color and texture read.
Review finish samples with stone, tile, flooring, wall color, and hardware so undertones are judged in the correct context.
Make sure the selected finish fits the household’s tolerance for fingerprints, chips, water vigilance, texture cleaning, and touch-up reality.
One strong finish story usually outperforms a room with too many competing cabinet colors, glazes, textures, and wood tones.
Painted, stained, and specialty finishes each offer a different mix of style, maintenance, cost, and long-term character. The right choice is the one that makes the whole room feel resolved.